Are you seeing an error message “Your computer is low on memory” on your computer? This error usually triggers up due to problems with virtual memory on your system. Configuring the right amount of virtual memory will solve this issue for you. But before going ahead for the solutions, try out these simpler workarounds first.
Workarounds–
1. Save all of your work and restart your computer. Check if it helps or not.
2. Check if there is an update pending for Windows on your computer. If it is pending, install it on your computer.
3. Press Ctrl+Shift+Esc to open Task Manager on your computer. Check the memory usage of the applications running on your computer.
Simply right click on the process eating up huge chunk of memory and then click on “End Task” to end the process.
Still, if you are seeing the error message on your computer then go for these solutions-
Fix- Adjust virtual memory usage on your system-
As we have discussed earlier this error is caused due to shortage ofs virtual memory, adjusting it may help you out.
1. Press Windows key+R to launch Run window.
2. Now, type “sysdm.cpl” and then hit Enter.

System Properties window will be opened.
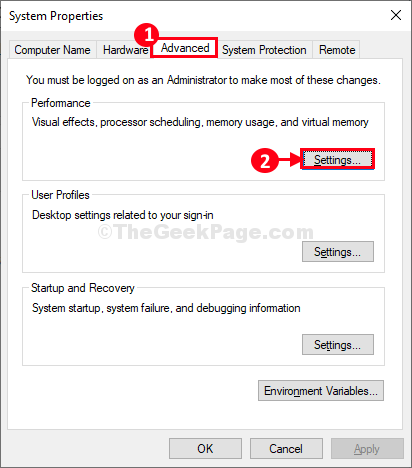
3. In System Properties window, go to “Advanced” tab.
4. In Performance, click on “Settings“.
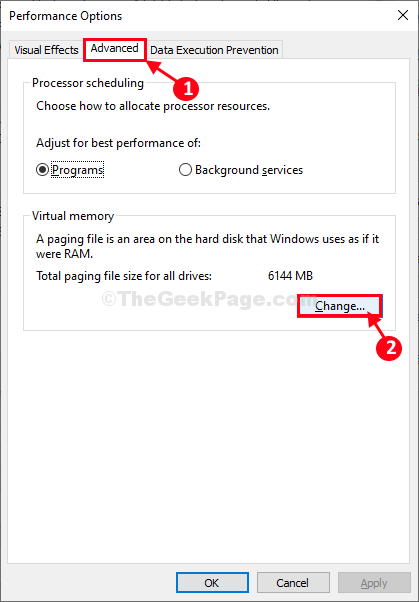
5. In Performance Options window, go to “Advanced” tab.
6. In Virtual memory section, click on “Change” to modify it on your computer.
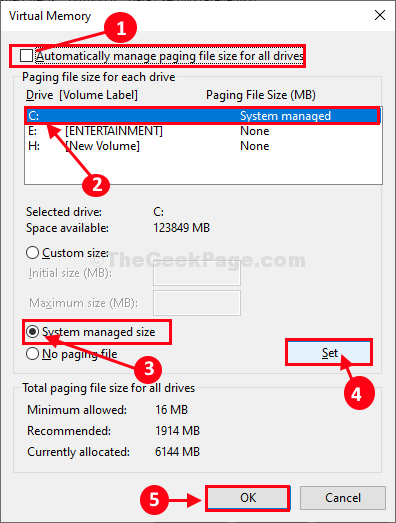
7. In Virtual Memory window, uncheck the option “Automatically manage paging file size for all drives“.
7. Now, In Paging file size for each drive section, choose the drive where Windows is installed, click on it to select it.
8. Next, click on “System managed size” and then click on “Set” to select it.
9. Finally, click on “OK” to save the changes in the settings.
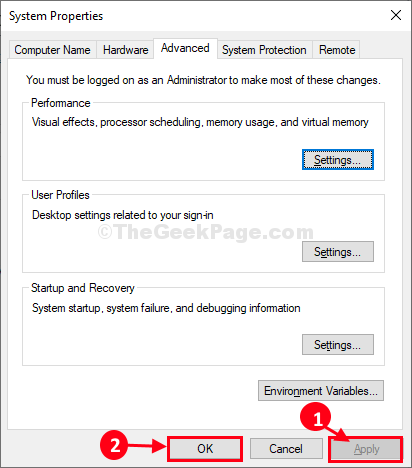
10. Coming back to System Properties window, click on “Apply” and then on “OK” to save the changes.
Reboot your computer to let the changes take effect on your system.
After rebooting, check if the error is still there or not. If the error message still pops up, go for the next solution.
Fix-2 Modify Local Group Policy Editor-
Modifying Local Group Policy Editor may help you out.
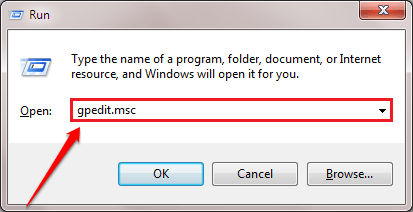
1. Press Windows key+R to launch Run window on your computer.
2. To open Local Group Policy Editor window, type “gpedit.msc” and then hit Enter.
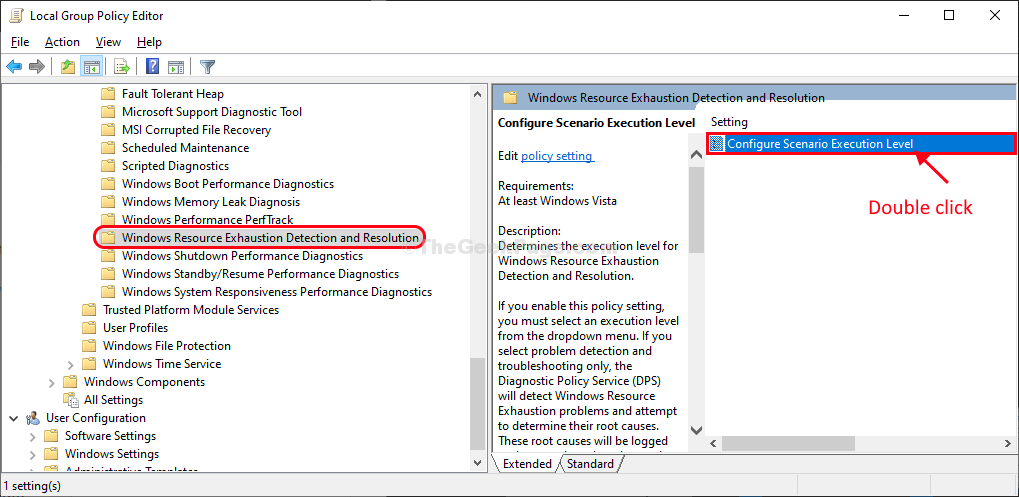
3. In Local Group Policy Editor window, on the left hand side expand-
Computer configuration – Administrative templates – System – Troubleshooting and Diagnostics – Windows Resource Exhaustion Detection and Resolution
4. Now, on the right hand side of the window, double click on “Configure Scenario Execution Level“.
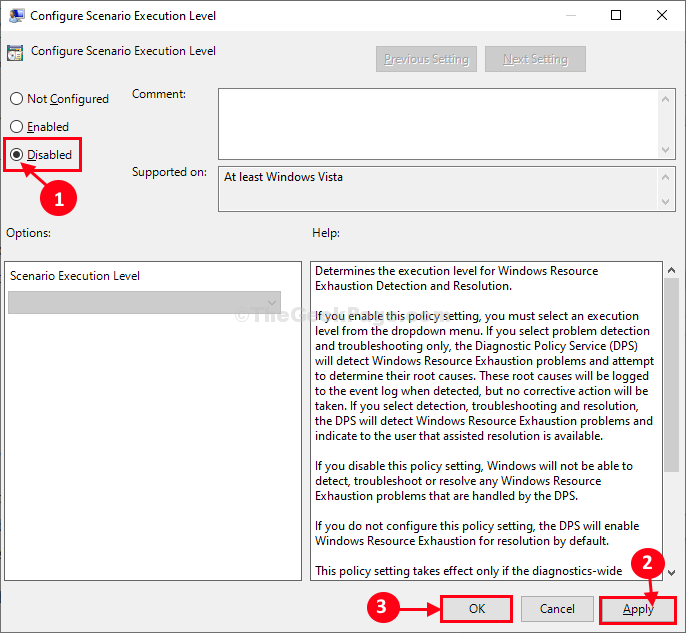
5. In Configure Scenario Execution Level window, select “Disabled” to disable it on your computer.
6. Finally, click on “Apply” and then “OK” to save the changes on your computer.
Close Local Group Policy Editor window on your computer.
Restart your computer to save the changes on your computer.
After restarting your computer, check if the error message is still appearing or not.
If the problem still continues to bother you, go for the next solution.
Fix-3 Run a registry script-
If nothing so far has helped you, running a registry script on your computer will surely solve this issue.
But, before going ahead, make sure that you have created a backup copy of your registry on your computer.
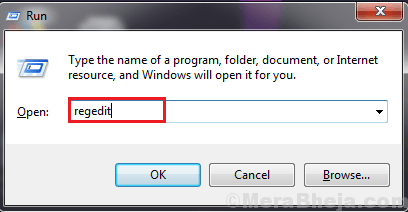
1. Press Windows key+R to launch Run, now type “regedit” and hit Enter.
2. In Registry Editor window, click on “File” and then click on “Export” to create a backup of the registry on your computer.
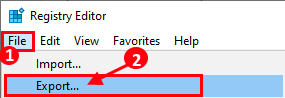
If anything goes wrong, you can just ‘Import‘ it on your computer.
Close Registry Editor window.
3. Right click in the empty space of Desktop and then click on “New>” and then click on “Text document“.

4. Now, double click on ‘New Text Document‘ to open it.
Notepad window will be opened.
5. In the Notepad window, copy-paste these lines.
REGEDIT4
[HKEY_LOCAL_MACHINE\SOFTWARE\Policies\Microsoft\Windows\WDI\{3af8b24a-c441-4fa4-8c5c-bed591bfa867}]
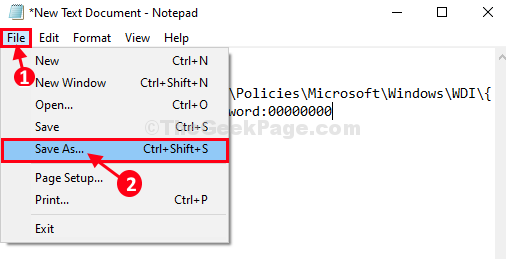
"ScenarioExecutionEnabled"=dword:000000006. Now, click on “File” in the menu-bar and then click on “Save as…“.
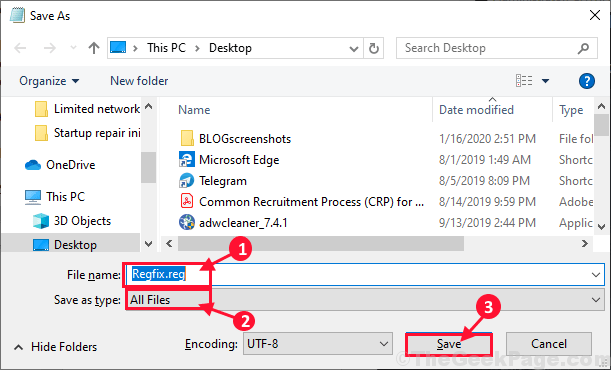
7. In Save As window, name the file as “Regfix.reg” and choose “All Files” from the file type.
8. Choose a particular location to store the file on your computer.
9. Finally, click on “Save” to save the file on your computer.
Close Notepad window.
10. Go to location where you have just saved the file.
11. Now, right click on “Regfix.reg” and then click on “Merge” to merge it with your original registry.
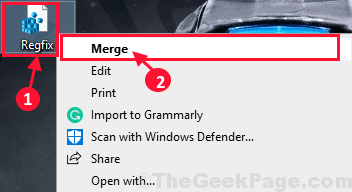
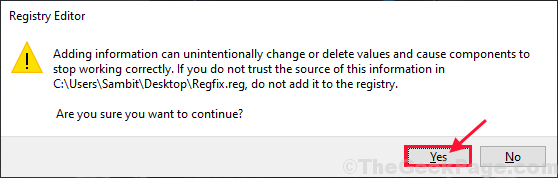
12. If you receive a warning message, just click on “Yes” to run the script on your computer.
Reboot your computer.
After rebooting your computer, you will not see the error message again.
Your problem should be solved.
No comments:
Post a Comment