Fix-1 Modify Registry on your computer-
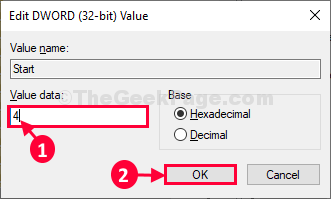
Modifying the value of ‘Start‘ D-WORD value will solve this problem for you.
NOTE–
Before going ahead to the main fix, we strongly suggest you to create a a backup of the registry on your computer. After opening Registry Editor, click on “File” > “Export” to create the backup.
If anything goes wrong you can retrieve your registry by simply importing the backup.
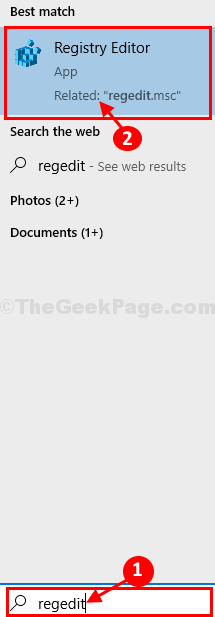
1. Click on the Search box and then type “regedit“.
2. Now, click on “Registry Editor” from the search results to open it on your computer.
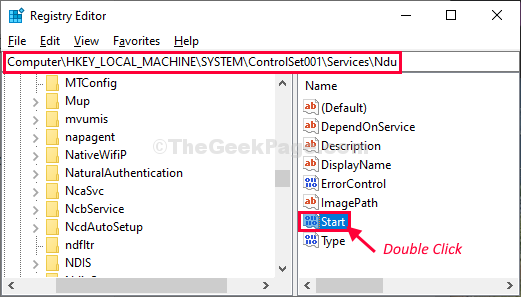
3. In Registry Editor window, on the left hand side, navigate to this location-
Fix-2 Disable SysMain service-
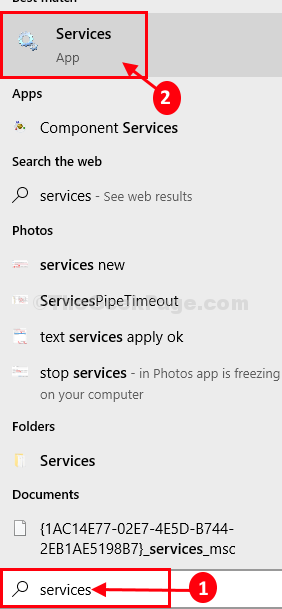
1. Click on the Search box and type “services“.
2. Now, click on “Services” from the elevated search results.
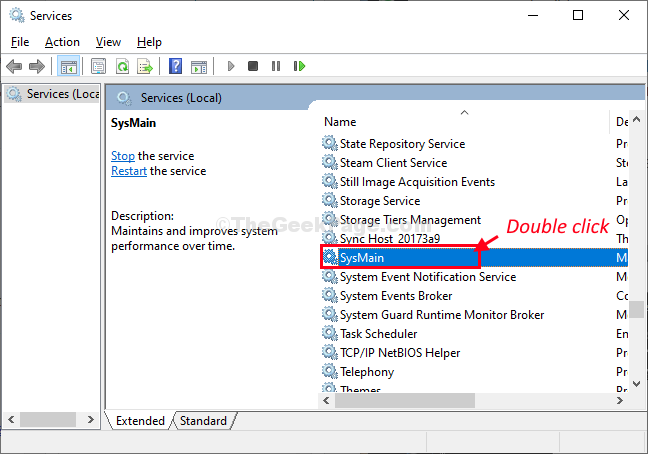
3. Scroll down and find “SysMain” in the right side of Services window.
4. Now, double click on “SysMain” to modify it.
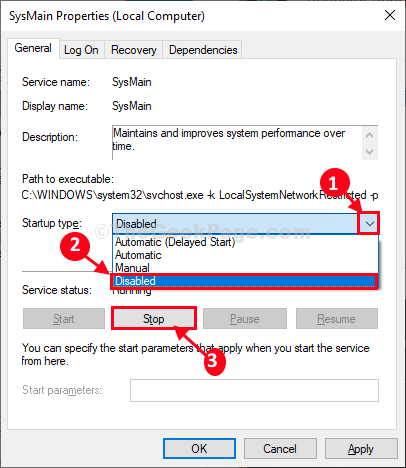
5. In SysMain Properties widow, click on the ‘Startup type:‘ and choose “Disabled” from the drop-down list.
6. Click on “Stop” to stop the service.
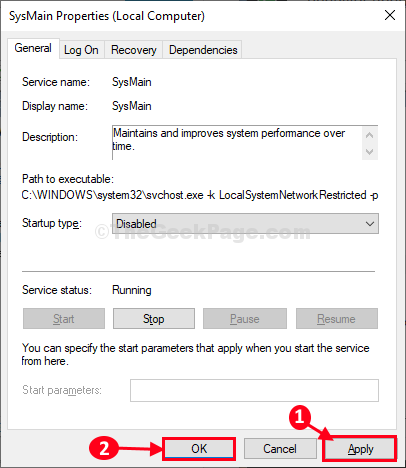
7. Finally, click on “Apply” and then on “OK” to save the changes on your computer.
Now, reboot your computer to save these changes on your computer.
After rebooting the memory leak issue will be solved.
No comments:
Post a Comment