So, Without any more useless info, here goes the list of secret windows 10 tricks for you.
Also Read : 101 Best Hidden Computer Tricks you don’t know yet
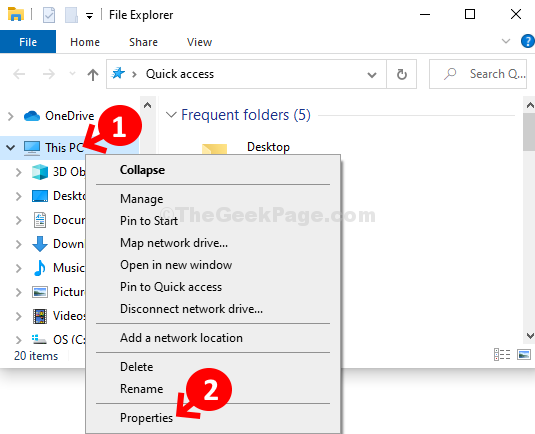
You can open My computer By pressing Windows key + E
Use new Windows 10 keyboard shortcuts
Though Windows 10 is the upgraded version of Windows, a lot of keyboard shortcuts have been retained from the previous version, but certain new shortcuts which are specific to Windows 10 features are added.
- Windows + A: Brings up the Action Center
- Windows + C: Brings up cortana
- Windows + I: Brings up the settings menu
- Windows + Ctrl + D: Adds new Desktop
- Windows + Ctrl + left arrow/right arrow: Switch between Desktops
Find out which app is eating up more space with windows 10 storage sense

Press windows key + PrintScreen , and screenshots will be automatically gets saved in your PC
The screenshot of your current open windows which you are viewing in your monitor gets automatically saved in pictures/screenshots folder once you hit windows key and Printscreen key together.
Hide folder Completely By Command Prompt
In order to hide a folder, first of all browse to the location in which the folder is residing.
Now, do a shift + Right Click and click on open command prompt window here.
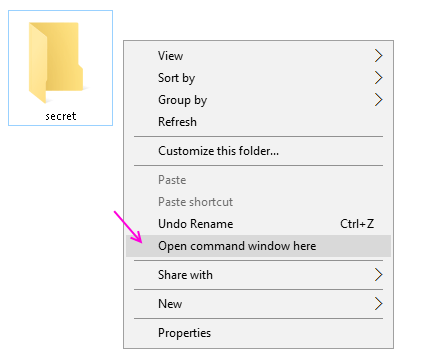
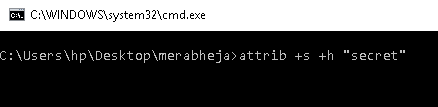
Now, In command prompt (CMD) type this command
attrib +s +h "Folder name"
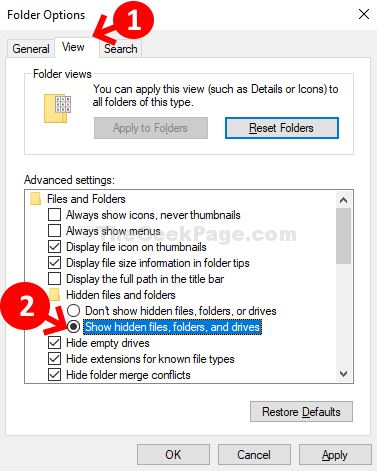
As soo as you hit enter , your folder will be hidden. Now, no one can see this hidden folder , just by checking show hidden folder and files in windows PC.
To show the folder, open CMD as mentioned above and type given below command
attrib -s -h "ItemName"
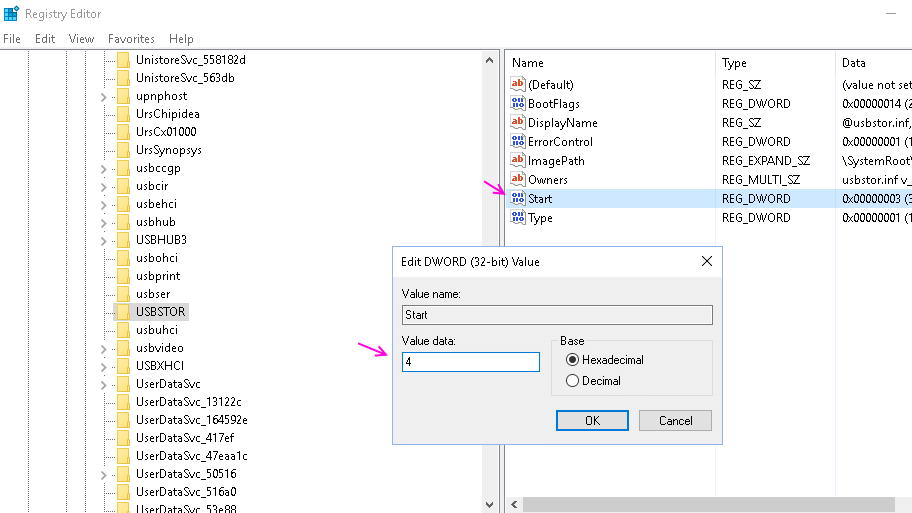
Disable access to USB ports, so that no one can steal data through USB from your PC
Do You want to protect your data so that no one can take it out from your PC via a pen drive, Then here are steps to block usb ports. You can reenable whenever you want.
1. In search box search RUN. You can also press windows key + r.
2. Now, type regedit in it to open registry editor.
3. Once it browse to the follwoing location given in next step
4. HKEY_LOCAL_MACHINE\SYSTEM\CurrentControlSet\Services\usbstor
5. In the right area, double click on Start.
6. In the Value Data box, change the value to 4.
7. Finally Click on OK.
8. Close Registry Editor and restart your PC.
9. To re-enable access to your USB ports, enter 3 in the Value Data box in Step 6.
To open 3rd item on Taskbar just press Windows key + 3 and so on …

To Highlight and focus on Taskbar items use Windows key + T

Also if you middle click on any taskbar icon, it will open a fresh window of it
Pressing Windows + Arrow keys maximizes or minimizes videos
Window+UP = Maximize window
Window+DOWN = Minimize window
Window+LEFT = Set the window to the left half of your screen
Window+RIGHT = Set the window to the right half of your screen
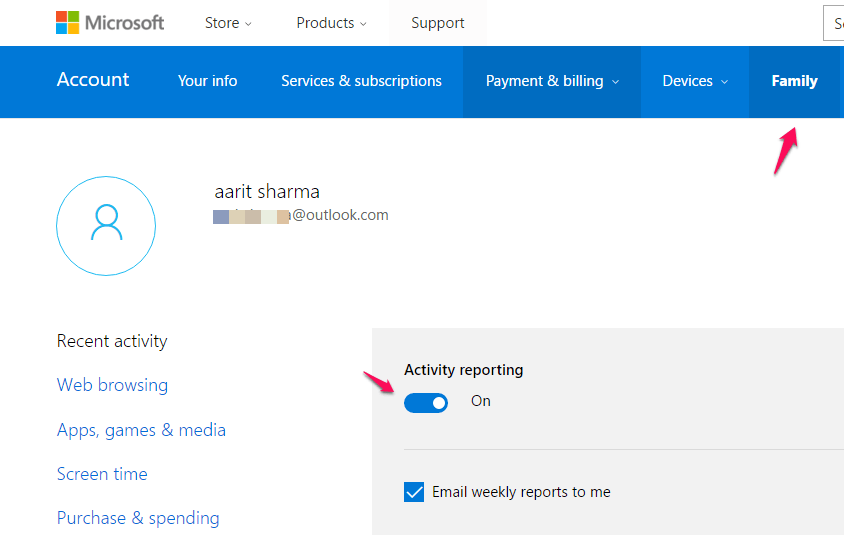
Spy on your Child’s Online activity. Get detailed email report every week of his visited websites
For this create a child account on your windows PC. Go to your Microsoft account and make sure its turned on.
Record your screen By pressing Windows key + G and starting game bar

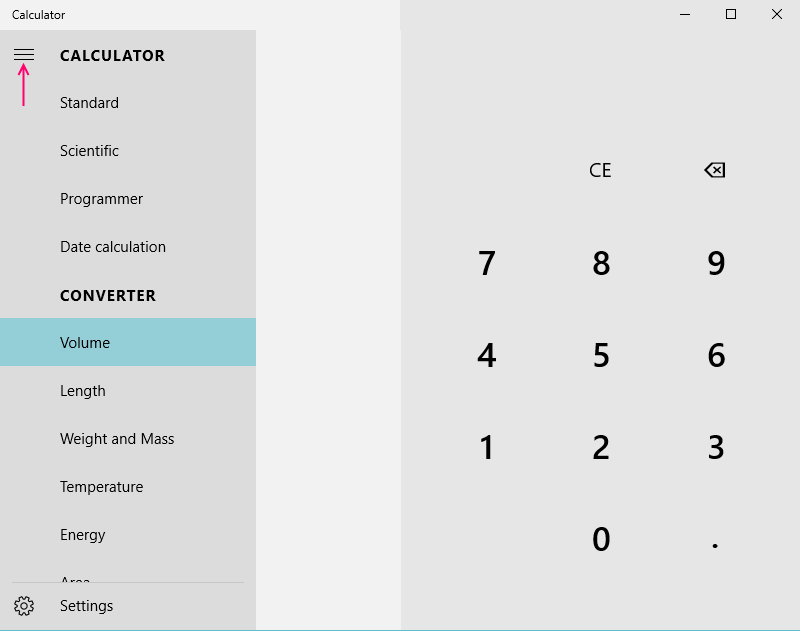
Your Windows 10 calculator can do a lot more than simple calculation
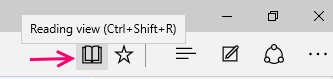
Read web pages distractions free with Reading View in Microsoft Edge
If you want to get rid of any annoying advertisements or unwanted recommendations, use “Reading View” option.
Share A Web Link Or Web Screenshot in Microsoft edge

Use Edge Browser Note Taking Feature to annotate to web pages

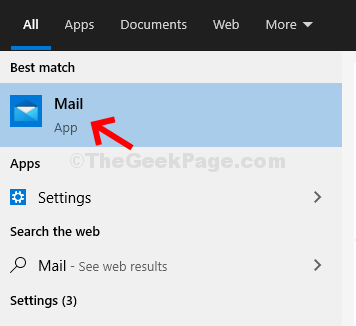
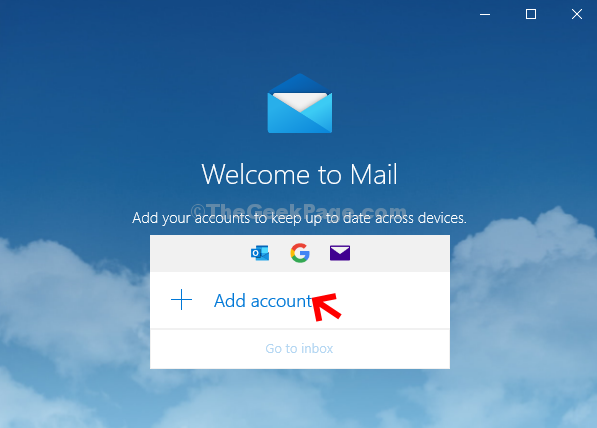
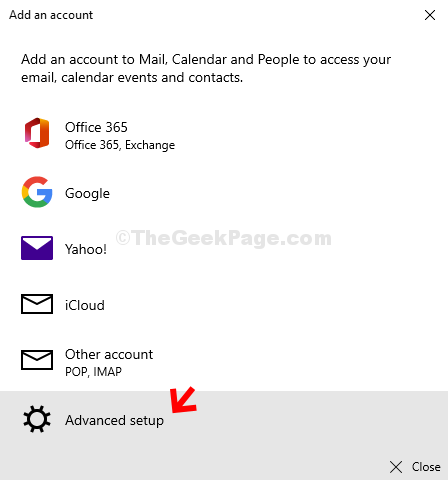
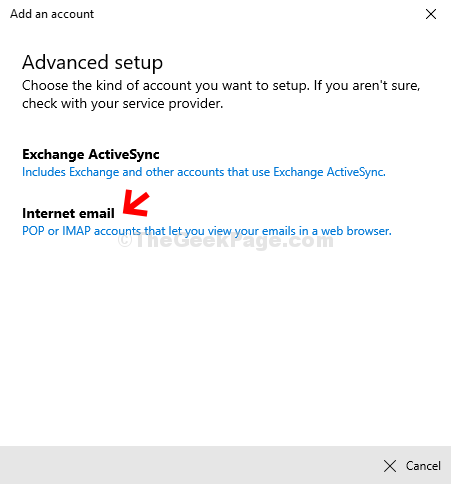
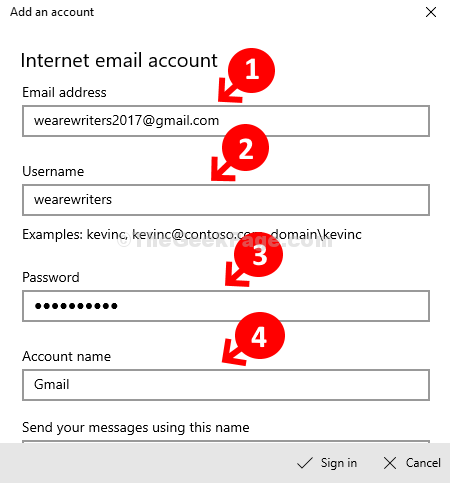
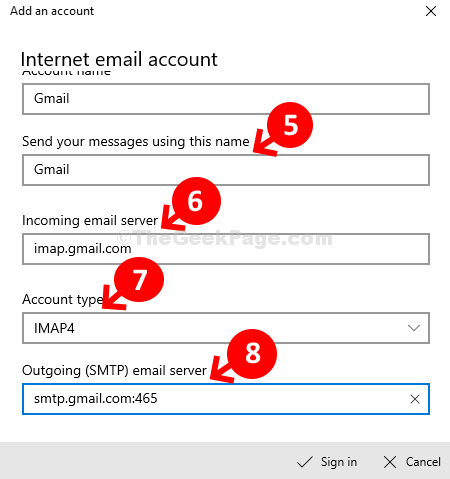
Get email Notification with sound in Windows 10 Details
To quickly change the case (upper case / lower / sentence case ) of text in Microsoft Word, select the phrase, then hit Shift + F3.
To declutter Start Menu Just go to Settings->Personalization->Start and uncheck everything

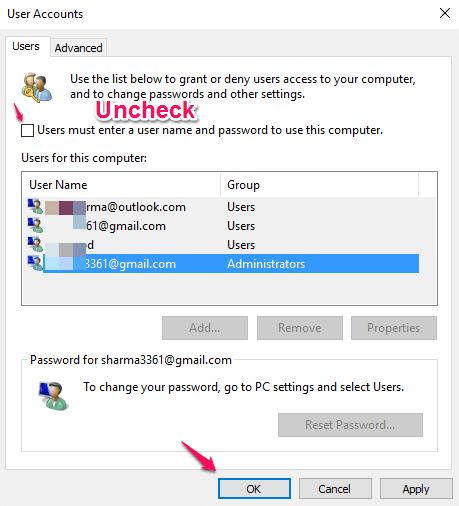
To remove password login , just search netplwiz in windows 10 taskbar
Now, disable the checkbox saying user must enter a username and password.
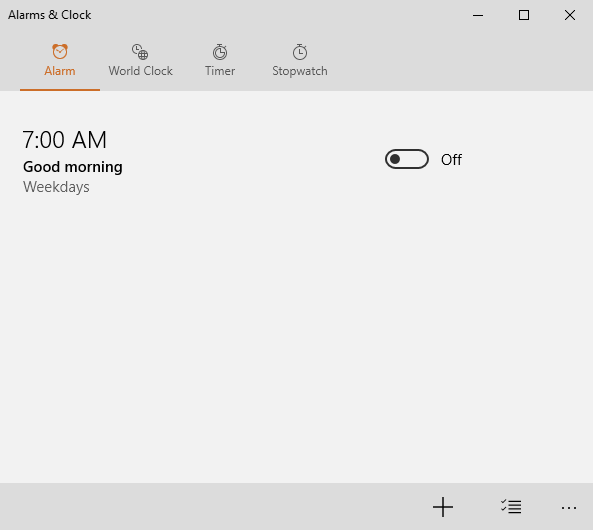
You can create an alarm or use stop watch. Just search alarm in windows 10 taskbar search
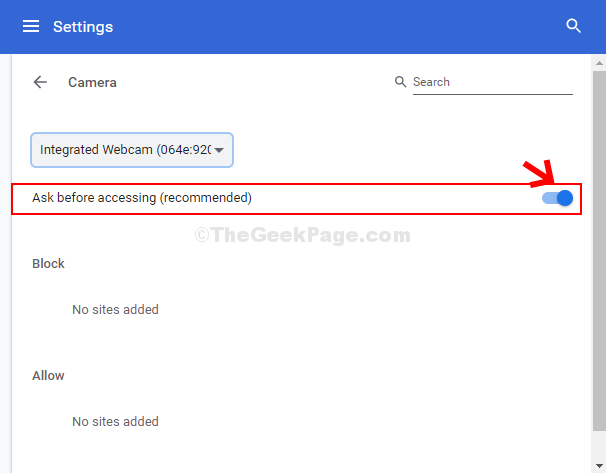
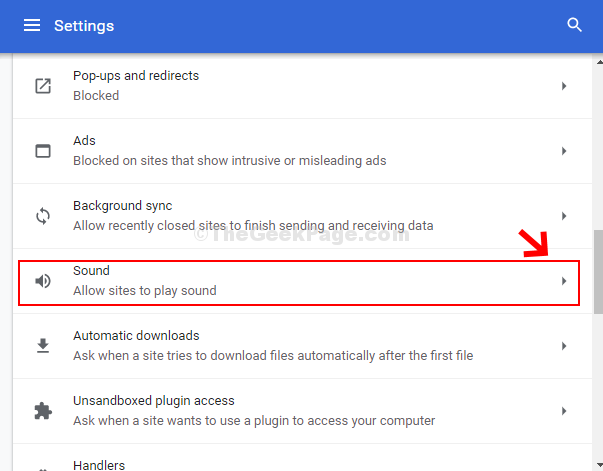
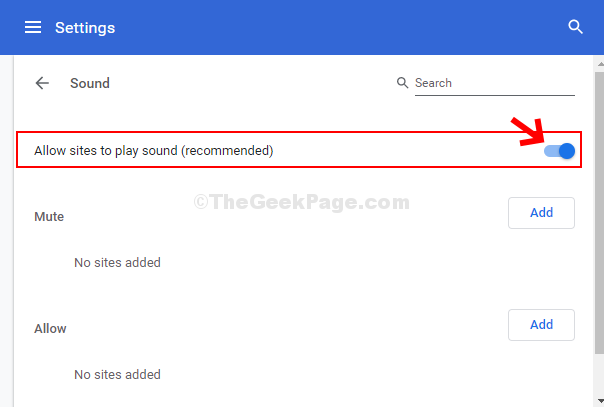
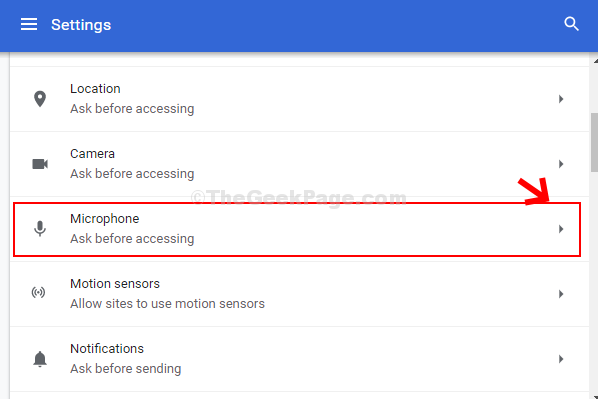
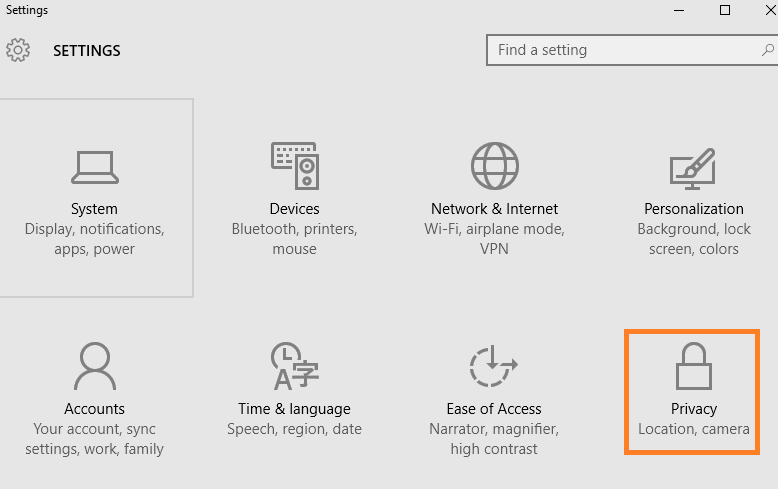
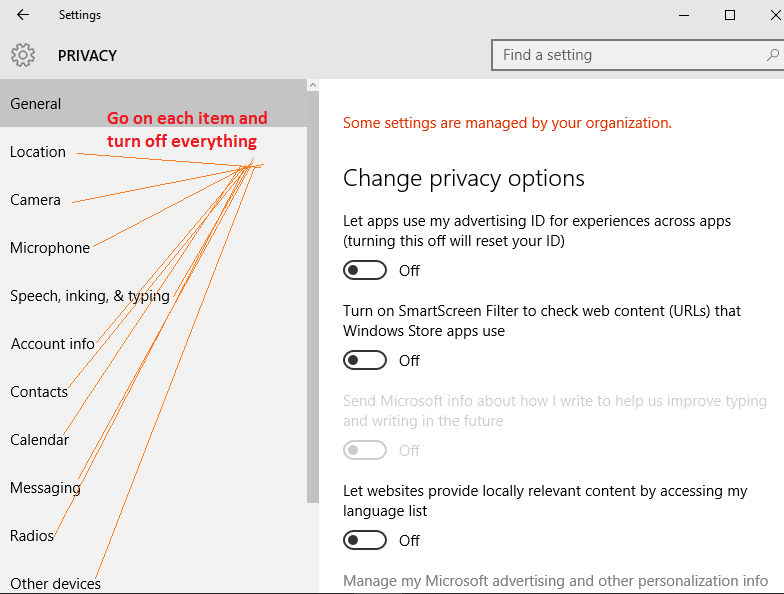
To Disable spying in windows 10, just turn off everything in privacy settings
Press windows key + i and go to settings control panel. Once there, click on privacy.
Now go on each and every item in the left panel and turn off each and everything, unless it is utmost important to you.
Just save your Powerpoint presentation in .PPS instead of .PPT, your file automatically starts in slideshow mode Once you open it.
If you save an Excel file as an .XLSB , it will compress the size by upto 75%
In Microsoft Excel, to highlight the whole column (vertical), use Control + Spacebar , and to highlight the whole row (horizontal) use Shift + Spacebar .
Double Click on top left of any open window to close it.

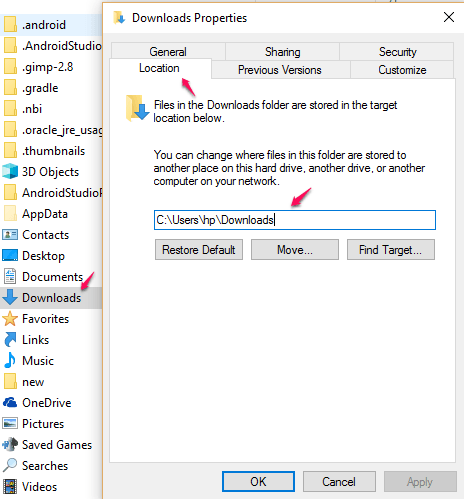
Redirect any folder to another folder
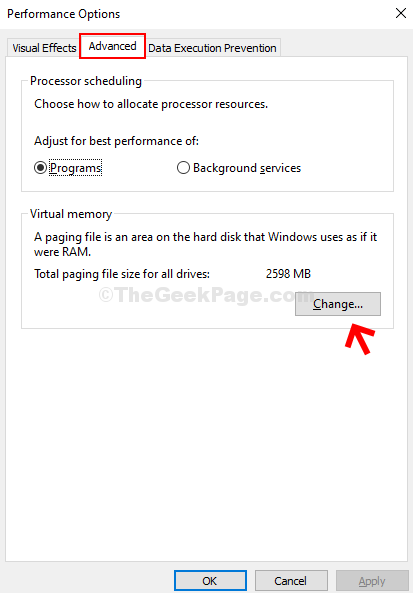
You can change downloads, My document or any other default windows folder to another location with this hack. Just, right click on the desired folder and click on Properties, then choose location. Now change the folder location to any other folder.
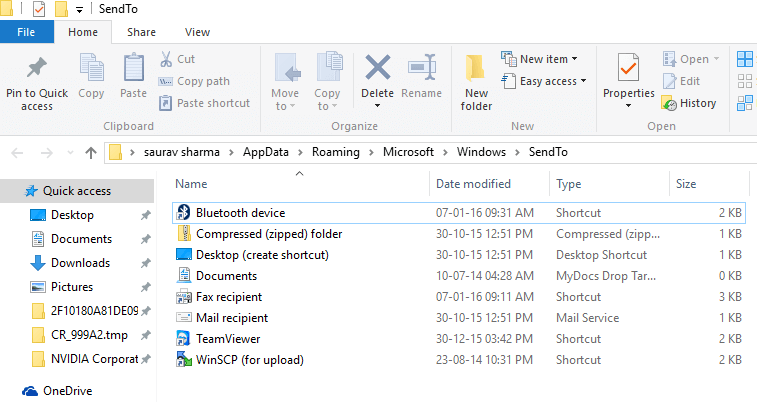
View Expanded Send to Menu by pressing shift while right clicking on any file
Just search these hidden tools in windows 10 search box. I bet you don’t know half of them
- Reliability Monitor : With this single tool you can view your PC problems history.
- Resource Monitor : Analyze your system performance
- Performance Monitor : Use it to find resource eating culprit processes
- netplwiz : Opens the Advanced User Accounts window.
- lusrmgr.msc : Opens the Local Users and Groups Manager.
- gpedit.msc : Group Policy Editor.
- mrt : This tool helps you in cleaning some of the most popular malicious software from your Windows computer.
- ncpa.cpl : To access all your Network Adapters, you can use this Run command.
- powercfg.cpl : Power Options.
- appwiz.cpl : Access the Programs and Features window to uninstall your installed programs.
- devmgmt.msc : Windows Device Manager to manage all your hardware devices.
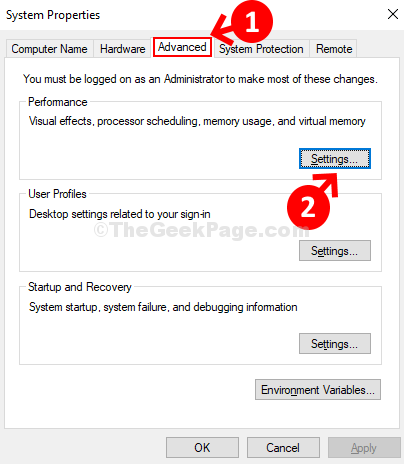
- sysdm.cpl : Access the System Properties window.
- firewall.cpl : Manage or configure your Windows firewall.
- wuapp : Check, manage and configure all your Windows update settings.
Just search Problem steps recorder in the search box. Use it to record your screen activity with steps for contacting support.

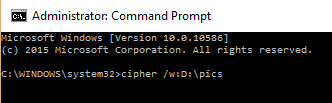
Just run cipher /w:driveletter:\foldername in Command prompt to ensure permanent deletion of deleted files in that folder
Most people do not know that when they delete files on their windows PC, they do not get deleted fully. They can be recovered easily with data recovery programs. So if you are giving your laptop for a fix to a service provider, make sure to run this program to overwrite free space, to ensure deletion of your sensitive file.
For example you have a sensitive file in a folder named pics in D drive. then run the given below command to ensure permanent deletion of files.
cipher /w:D:\pics
If you want to overwrite entire free space in entire D drive, just run cipher /w:D.
You can also Open start Menu by Pressing Ctrl + Esc
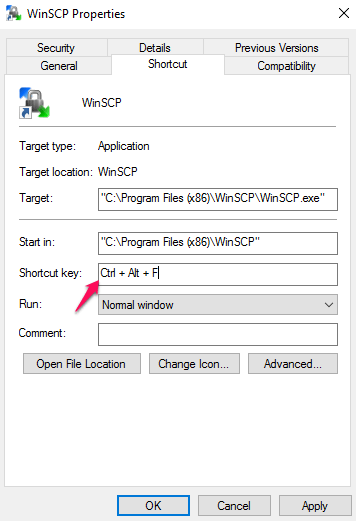
You can create a Keyboard shortcut for opening any application
Just right click on the application shortcut and click on properties. Now, put the desired shortcut in the field as shown in the image.
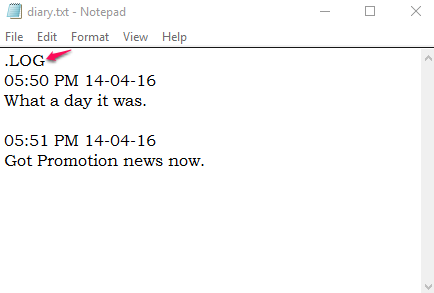
You can use Your notepad as a Diary with automatic time stamps
Just write .LOG at the top of your Notepad file in Capital letters. Now whenever you will open it and write your entries, time and date will be automatically get printed along with it.
You can Transform any folder into recycle Bin. Just rename the folder as Your Folder name.{645FF040-5081-101B-9F08-00AA002F954E}
You can Cut / Copy and paste here. All the files in the original recyle bin will also be reflected here.
Create a Shortcut on your Dekstop to lock the screen
Just right click on desktop anywhere and create a shortcut. Now put rundll32.exe user32.dll,LockWorkStation in the location. Now whenever you will double click on it, your PC will get locked instantly.
Rename Multiple Files at Once
Just select all files in a folder and press F2 key. Now rename the single file and all your files will be renamed with extensions (1), (2) and so on appended with it.

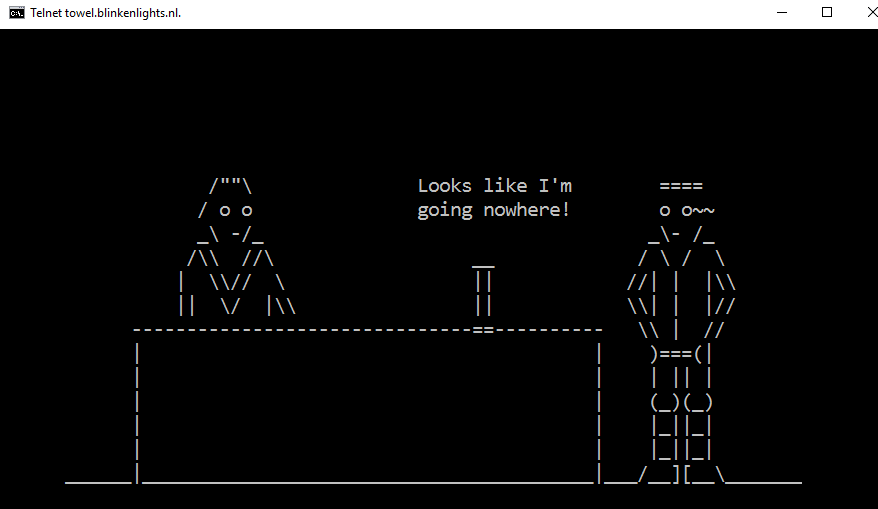
Watch and Enjoy star wars movie right there in your CMD window
Just run telnet towel.blinkenlights.nl. in your CMD.
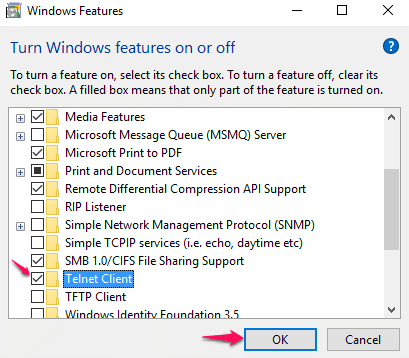
Note: – Before that you have to enable Telnet in your PC. Search Turn windows feature on or off in your search box. Click on the Turn windows feature on or off.
Now, enable telnet.
Now, Open Command Prompt and enter telnet towel.blinkenlights.nl. and press enter.
Now, enjoy the movie. Just for fun.
You can change any Windows OS password without knowing current password
Just open command prompt as admin and Run the command net user. This will show you the list of usernames. Now run net user user_name new_password . The password will straightaway get changed. Details.
Change item in the send to menu
Just open run command and enter shell:sendto in it. Now go and paste the shortcut of the item you want to include in the send to menu.
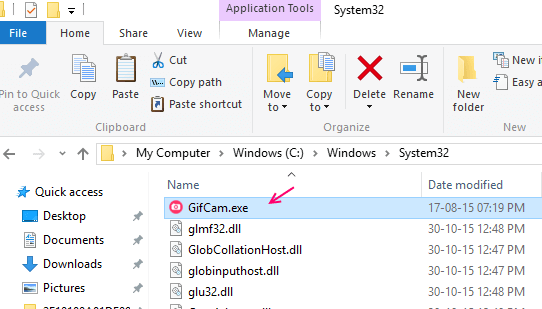
Create run command for any program of your wish
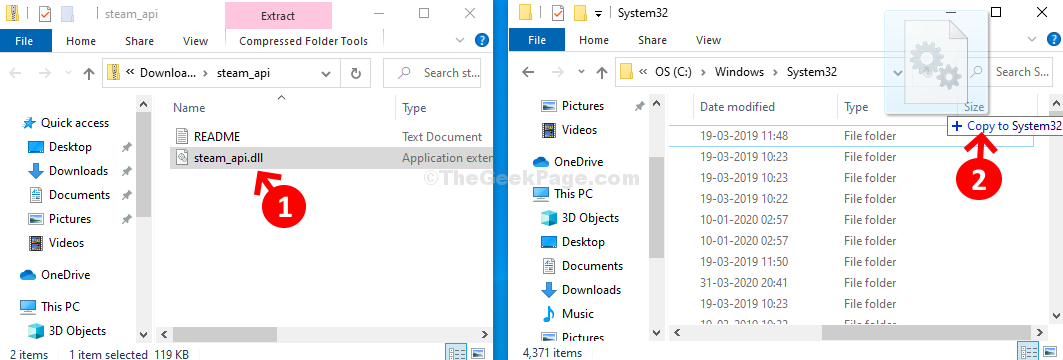
Just create the shortcut of the program and paste the shortcut in System32 folder. Now, just type the shortcut name in run box and it will open instantly.
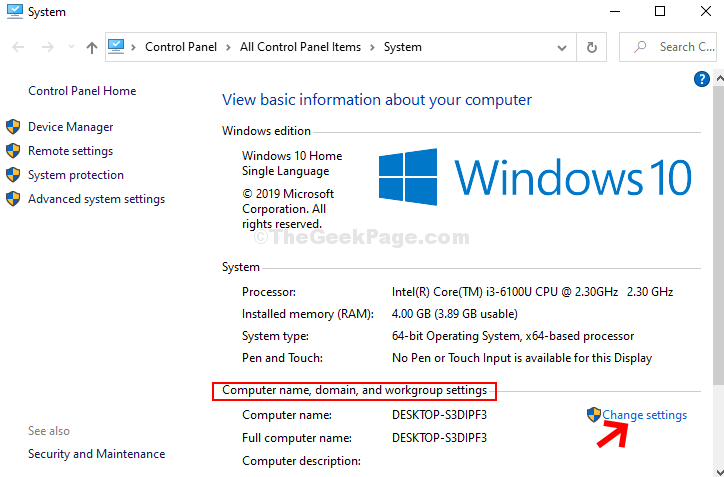
Run Systeminfo in your command prompt and see all useful info of your PC
Force Kill any program instantly, For e.g. to kill firefox run taskkill /f /im firefox.exe in run box
If you want to run a program as administrator Just Press CTRL + Shift + Right Click
Do a right Click while keeping CTRL +Shift Key pressed The run as administrator will be there in the context menu.
Pressing Shift + Right Click will give an option to open command prompt window there
For example if you have to enter a folder path in Command prompt, then just go to the respective folder and do a shift + Right click there and open command prompt window here option will be seen.
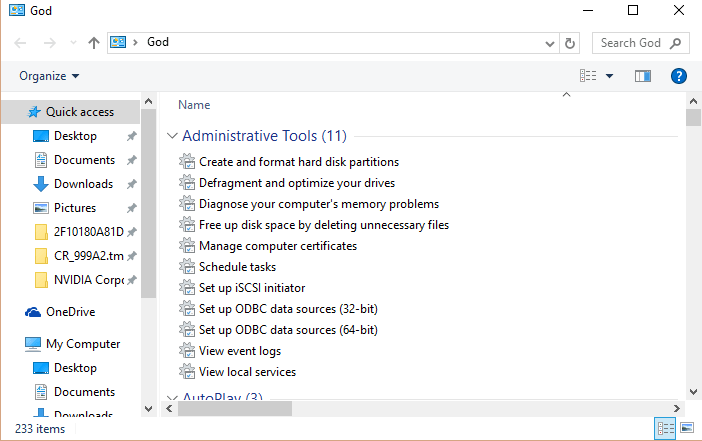
Open God Mode in Windows 10 and access all settings at one place
Most of you may know this, just create a folder named God.{ED7BA470-8E54-465E-825C-99712043E01C} and access god mode by opening that created folder.
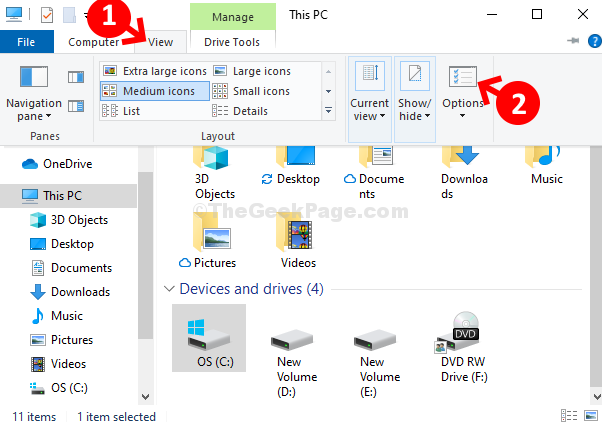
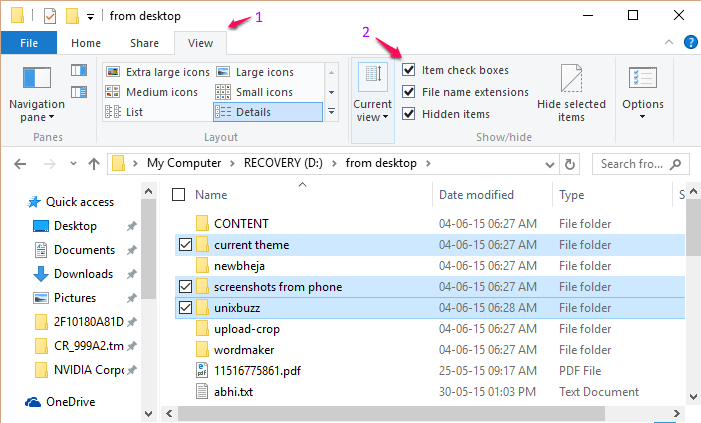
Enable Item Checkboxes to easily select and delete files
In file explorer, just click view and check item checkboxes
Restrict PC usage of an account on your Windows PC
For restricting PC usage timings of an account on your windows PC, just open command prompt ad admin and enter code given below.
net user username /Sa-Su,7pm-8pm
Block Particular websites on your PC
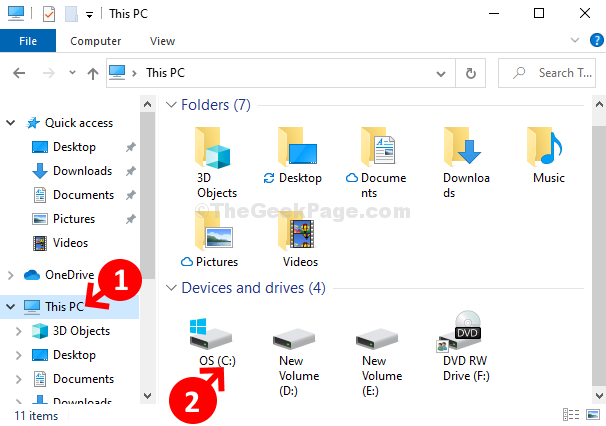
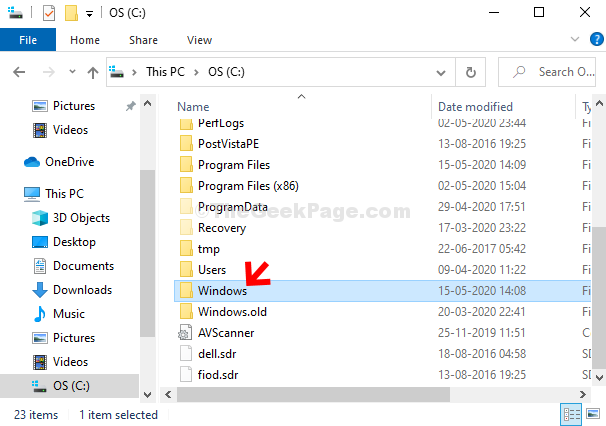
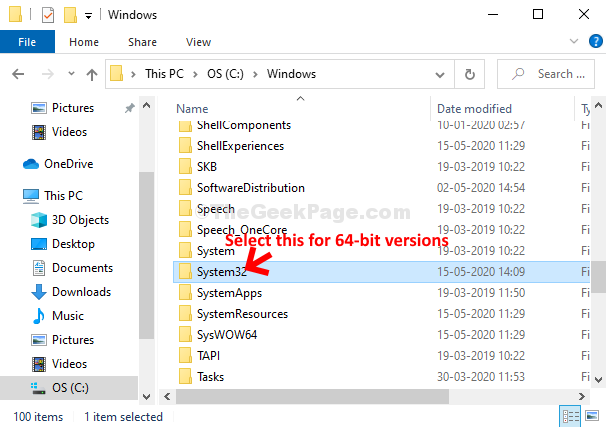
Go to C:\Windows\System32\drivers\etc on your computer. Now, Copy the file to your desktop, open it with a notepad editor and add two lines in the bottom of the file.
127.0.0.1 www.websitename.com
127.0.0.1 websitename.com
Now, save it and copy and paste it back to etc folder.
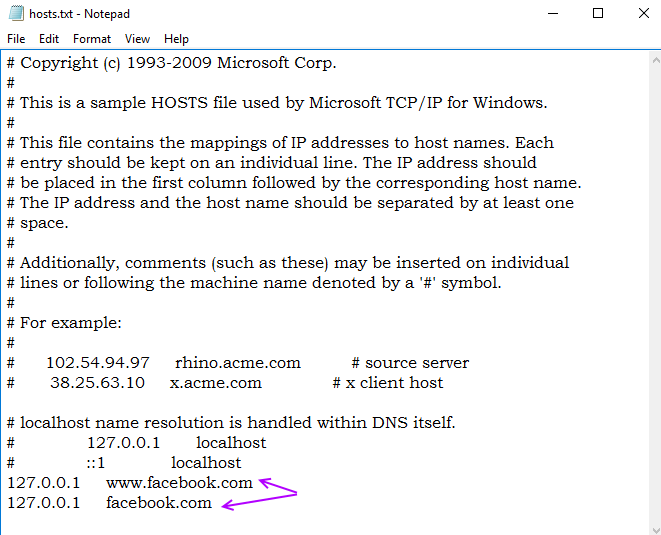
No, one can open the website, unless you remove these two lines again.
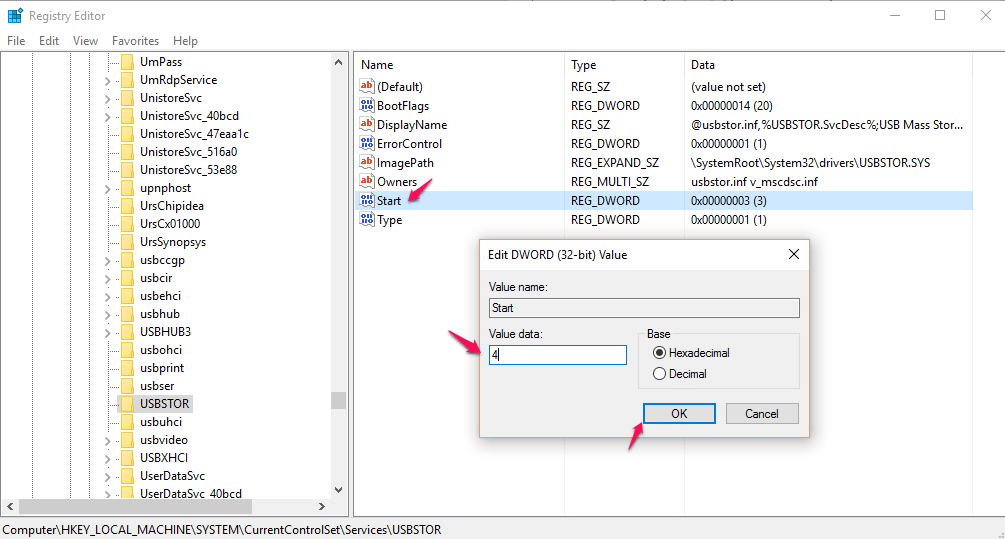
Disable USB Port in your windows PC, so that no one can steal data out
- Press windows key + r and type regedit in it.
- Now go to HKEY_LOCAL_MACHINE -> SYSTEM – > CurrentControlSet – > Services -> UsbStor
- Now, change the value of start to 4.
Automatically shutdown windows after a desired time
Suppose you are watching a movie and do not know when you will fall asleep.
in this case just press windows key + r and type the code given below in run command box.
shutdown –s –t 600
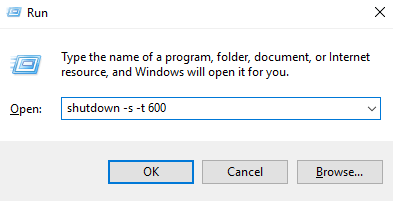
Your PC will automatically shut down after 600 seconds, i.e. 10 minutes. you can change 600 to whatever time you wish your pc to shutdown.
Note:– To cancel this process just type shutdown -a.
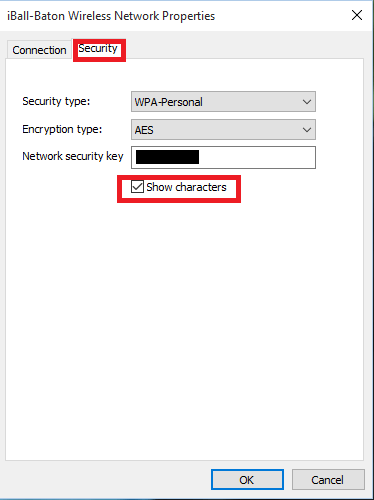
View wifi password if you forgot it
Right click on wifi network connection icon in network connections.
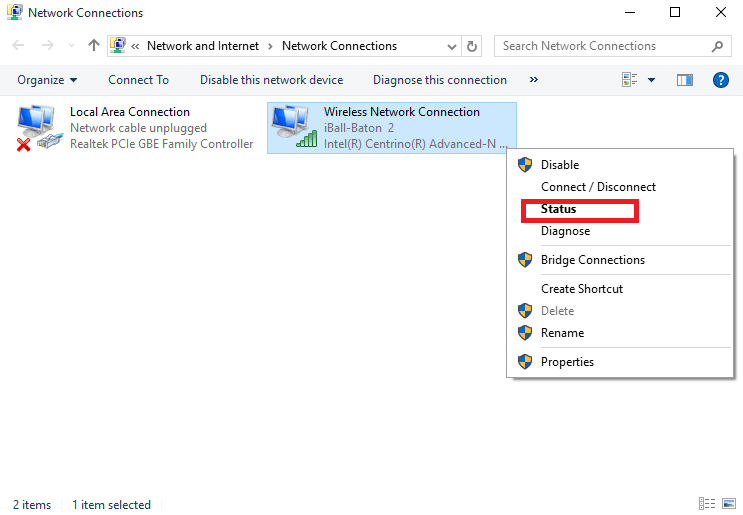
Click on the option called Wireless Properties as shown in the image below.
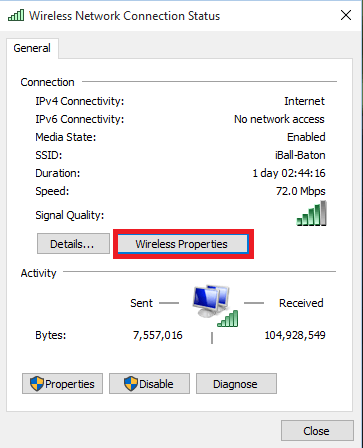
Click on Show Characters box in order to get your current password.
You can create a keylogger for yourself with a simple script . Details

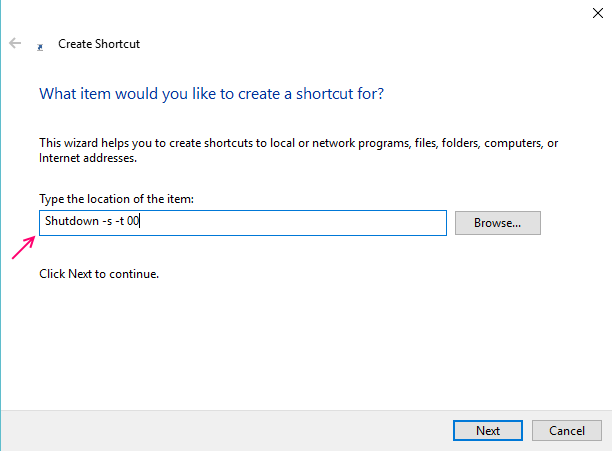
Create a Shortcut to shutdown your Desktop
Right click on your desktop and create a new shortcut paste Shutdown -s -t 00 in location of the drive field.
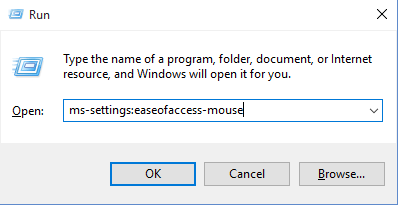
Save time and Go Directly to a particular settings in Windows 10. just copy and paste these in run command box
Press windows key + r to open run command and paste any one of the command given below to directly go to a particular windows 10 settings.
| Battery Saver | ms-settings:batterysaver |
| Battery use | ms-settings:batterysaver-usagedetails |
| Battery Saver Settings | ms-settings:batterysaver-settings |
| Bluetooth | ms-settings:bluetooth |
| Colors | ms-settings:colors |
| Data Usage | ms-settings:datausage |
| Date and Time | ms-settings:dateandtime |
| Closed Captioning | ms-settings:easeofaccess-closedcaptioning |
| High Contrast | ms-settings:easeofaccess-highcontrast |
| Magnifier | ms-settings:easeofaccess-magnifier |
| Narrator | ms-settings:easeofaccess-narrator |
| Keyboard | ms-settings:easeofaccess-keyboard |
| Mouse | ms-settings:easeofaccess-mouse |
| Other Options (Ease of Access) | ms-settings:easeofaccess-otheroptions |
| Lockscreen | ms-settings:lockscreen |
| Offline maps | ms-settings:maps |
| Airplane mode | ms-settings:network-airplanemode |
| Proxy | ms-settings:network-proxy |
| VPN | ms-settings:network-vpn |
| Notifications & actions | ms-settings:notifications |
| Account info | ms-settings:privacy-accountinfo |
| Calendar | ms-settings:privacy-calendar |
| Contacts | ms-settings:privacy-contacts |
| Other Devices | ms-settings:privacy-customdevices |
| Feedback | ms-settings:privacy-feedback |
| Location | ms-settings:privacy-location |
| Messaging | ms-settings:privacy-messaging |
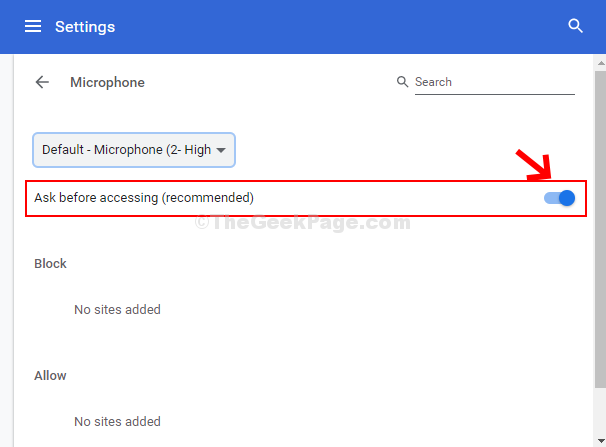
| Microphone | ms-settings:privacy-microphone |
| Motion | ms-settings:privacy-motion |
| Radios | ms-settings:privacy-radios |
| Speech, inking, & typing | ms-settings:privacy-speechtyping |
| Camera | ms-settings:privacy-webcam |
| Region & language | ms-settings:regionlanguage |
| Speech | ms-settings:speech |
| Windows Update | ms-settings:windowsupdate |
| Work access | ms-settings:workplace |
| Connected devices | ms-settings:connecteddevices |
| For developers | ms-settings:developers |
| Display | ms-settings:display |
| Mouse & touchpad | ms-settings:mousetouchpad |
| Cellular | ms-settings:network-cellular |
| Dial–up | ms-settings:network-dialup |
| DirectAccess | ms-settings:network-directaccess |
| Ethernet | ms-settings:network-ethernet |
| Mobile hotspot | ms-settings:network-mobilehotspot |
| Wi-Fi | ms-settings:network-wifi |
| Manage Wi-Fi Settings | ms-settings:network-wifisettings |
| Optional features | ms-settings:optionalfeatures |
| Family & other users | ms-settings:otherusers |
| Personalization | ms-settings:personalization |
| Backgrounds | ms-settings:personalization-background |
| Colors | ms-settings:personalization-colors |
| Start | ms-settings:personalization-start |
| Power & sleep | ms-settings:powersleep |
| Proximity | ms-settings:proximity |
| Display | ms-settings:screenrotation |
| Sign-in options | ms-settings:signinoptions |
| Storage Sense | ms-settings:storagesense |
| Themes | ms-settings:themes |
| Typing | ms-settings:typing |
| Tablet mode | ms-settings://tabletmode/ |
| Privacy | ms-settings:privacy |