Some Windows 10 users are complaining about an issue in the forum, as they are unable to log in to their Windows 10 devices which are throwing up an error message stating “The Group Policy Client service failed the logon“. If you are in the same situation, don’t worry. Just follow the fixes of this article and the problem will be solved very easily. But before going ahead for the main solutions, try these workarounds-
Workarounds-
1. Reboot your computer and check if it helps or not.
2. Check if any Windows Update is pending on your computer.
If any of these workarounds didn’t solve your problem, go for these fixes-
Fix-1 Disable Fast Startup-
Turning Fast Startup ‘off’ on your computer may solve this issue.
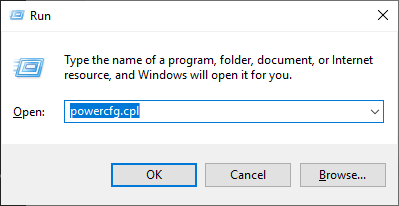
1. Press Windows key+R to launch Run window. Now, copy-paste this run command and then hit Enter to execute it. Power Options window will be opened.
control.exe powercfg.cpl,,3
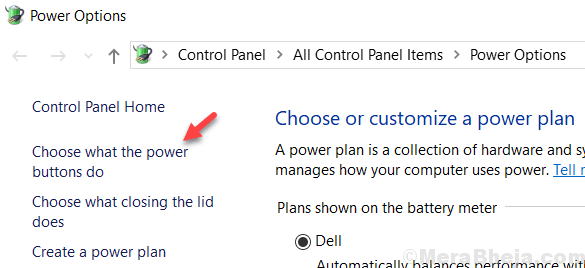
2. In Power Options window, on the left hand side, click on “Choose what power buttons do“.
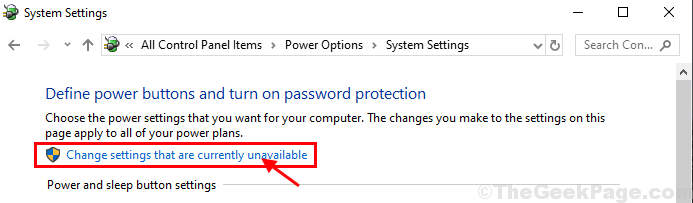
3. Now, click on “Change settings that are currently unavailable“.
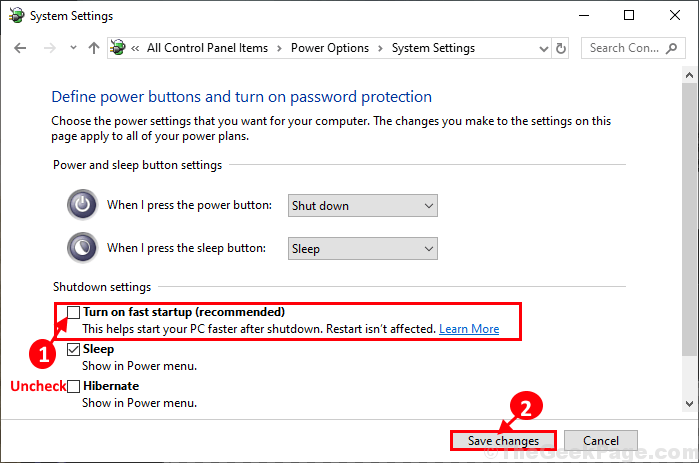
4. Next, under ‘Shutdown settings‘ uncheck the option “Turn on fast startup (recommended)” Finally, click on “Save changes” to save the changes on your computer.
Close System Settings window on your computer. Restart your computer to save the changes. After rebooting try log in again. Check if the error is still there or not.
Fix-2 Restart Group Policy service and Reset Winsock-
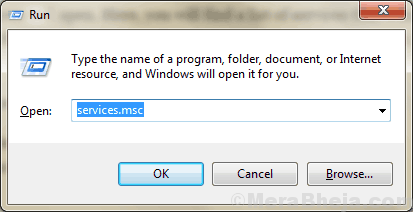
1. Press Windows key+R to launch Run window on your computer. Type “services.msc” and then hit Enter to open Services window on your computer.
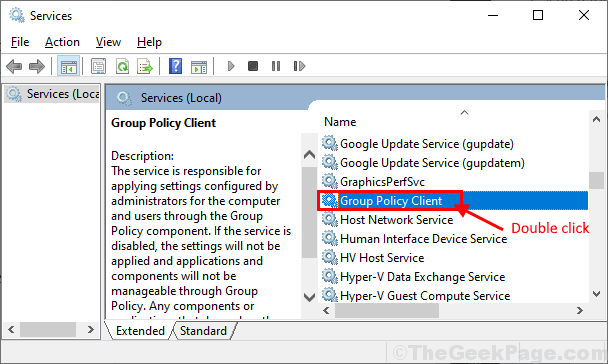
2. In Services window, scroll down to find “Group Policy Client” and double click on it to open it’s properties.
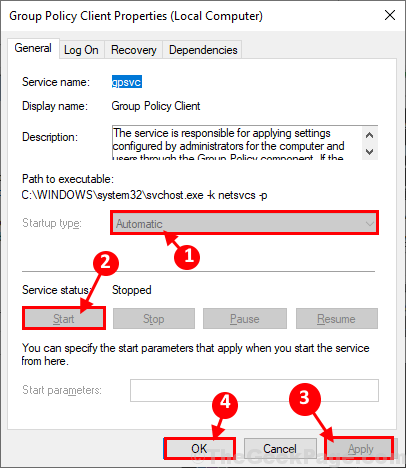
3. In Group Policy Client Properties window, change the ‘Startup type‘ to “Automatic” and then click on “Start” to start the service if it is ‘Stopped‘.
4. Click on “Apply” and “OK” to save the changes on your computer.
Close Services window on your computer.
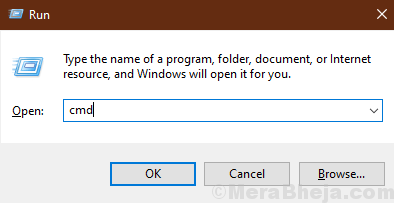
5. Press Windows key+R to launch Run window again on your computer. Now, type “cmd” and press Ctrl+Shift+Enter to open Command Prompt with Administrative rights. Click on “Yes” to permit User Account Control.
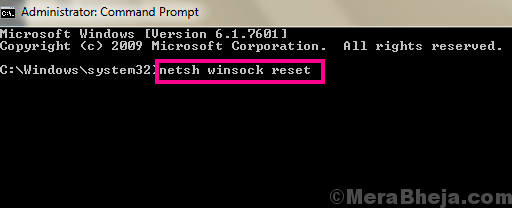
6. In Command Prompt window , type or copy-paste this command and then hit Enter to execute it.
netsh winsock reset
Close Command Prompt window.
Reboot your computer to let the changes take effect on your computer. After rebooting, try to log in to your device. If the problem is still not solved, go for the next fix.
Fix-3 Modify Registry Editor-
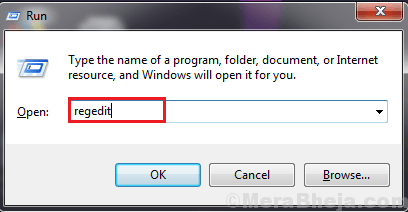
1. Press Windows key+R to launch Run window on your computer. Now, type “regedit” and hit Enter to open Registry Editor on your computer.
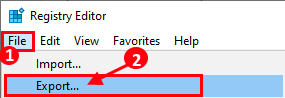
2. In Registry Editor window, click on “File” and then click on “Export” to create a backup of the registry key on your computer.
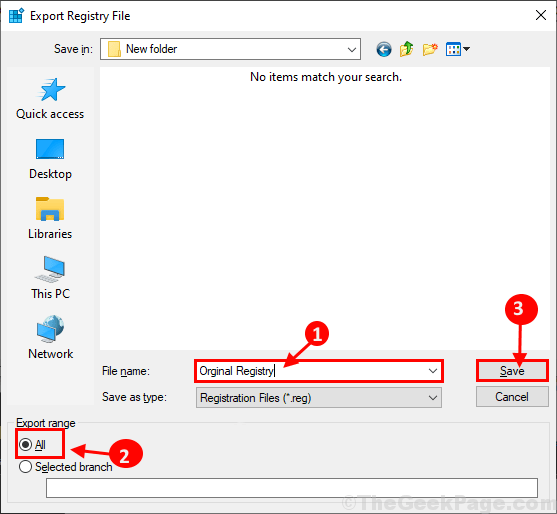
3. In Export Registry File window, choose a favorable location of your choice to store the backup. Now, click on ‘File name:‘ and then name it as “Original Registry“.
4. Next, set ‘Export Range‘ to “All” and then click on “Save” to store the backup on your computer. In case any thing goes wrong, you can simply ‘Merge‘ the registry back to your computer again.
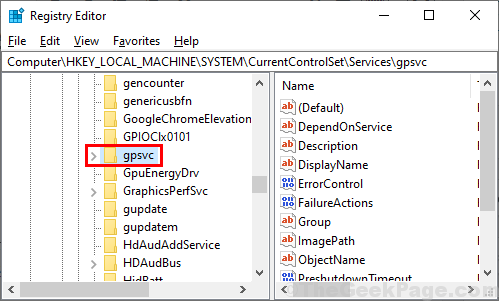
5. In Registry Editor window, navigate to this location on the left hand side to check if it is intact.
HKEY_LOCAL_MACHINE\SYSTEM\CurrentControlSet\Services\gpsvc
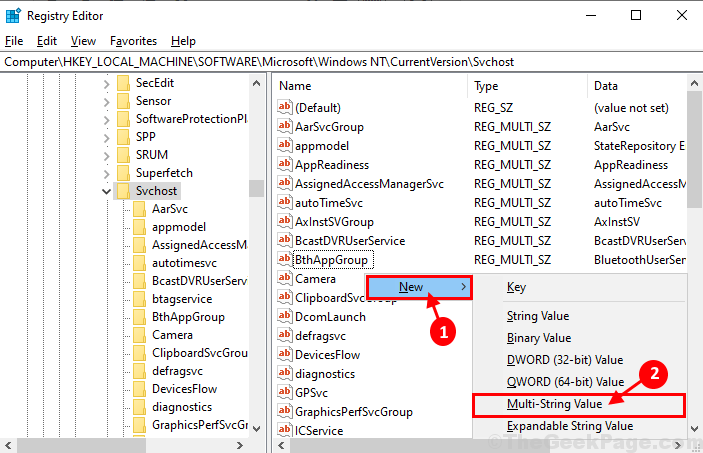
6. Again Registry Editor window, go to this location-
HKEY_LOCAL_MACHINE\SOFTWARE\Microsoft\Windows NT\CurrentVersion\Svchost
Now, right click in the empty space of right window and then click on “New” and then click on “Multi-String Value“.
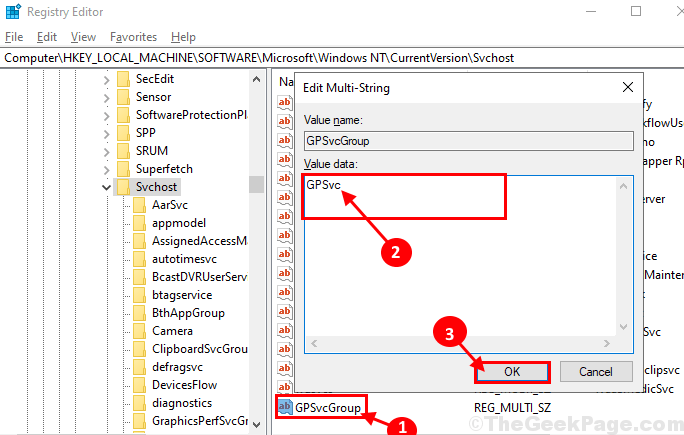
7. Now, name the key as “GPSvcGroup“. Double click on “GPSvcGroup” and then set the ‘Value Data‘ to “GPSvc” and then click on “OK“.
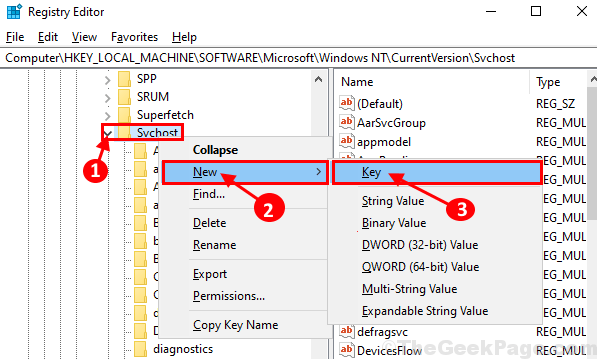
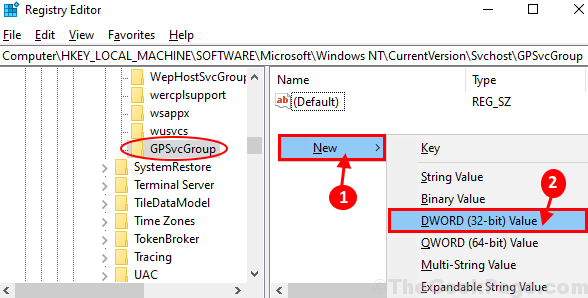
8. Now, right click on “Svchost” and then click on “New” and then click on “Key“.
9. Name the sub-key as “GpSvcGroup“. Now, right click on the right side of the window and then click on “New” and then click on “DWORD (32-bit) Value“.
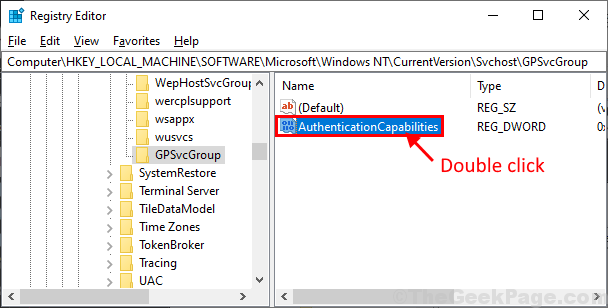
10. Name the key as “AuthenticationCapabilities“. Double click on it to edit the value data.
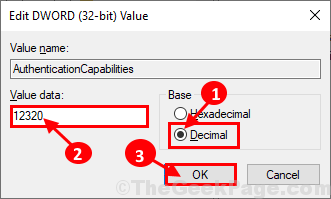
11. Set the ‘Base‘ to “Decimal“. Now, set the ‘Value Data‘ to “12320“. Click on “OK” to save the changes.
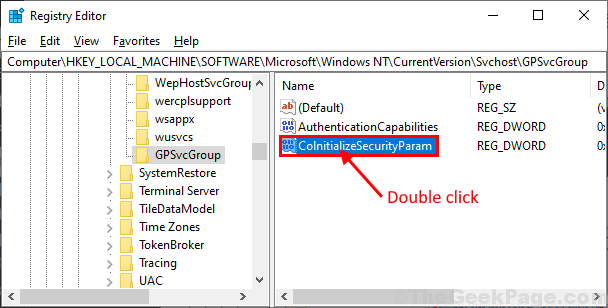
12. Now, right click on the right side of the window and then click on “New” and then click on “DWORD (32-bit) Value“.
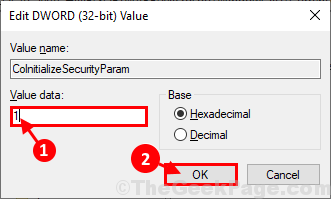
13. Name this key as “ColnitializeSecurityParam“. Double click on it to edit the ‘Value Data‘.
14. Set the ‘Value Data‘ to “1” and then click on “OK” to save the changes.
Close Registry Editor window on your computer.
Restart your computer and try to log in again to your computer.
No comments:
Post a Comment