Many times, we download and install a new font to get a change in the way we have been working to date. But, when you open a Word document and it doesn’t recognize the font, that’s when it can get frustrating. The reason why it doesn’t find the font is that the font may be corrupted.
While some font errors can be resolved by uninstalling and re-installing the fonts, the problem may still persist with some. So, how do we fix this Installed font not working issue? Let’s see how.
Method 1: How to Fix “Installed Font Not Working” Issue in Windows 10 Using LocalAppData
Step 1: Press the Windows key + R together on your keyboard to open the Run box. Type %localappdata% in the search box and hit Enter.
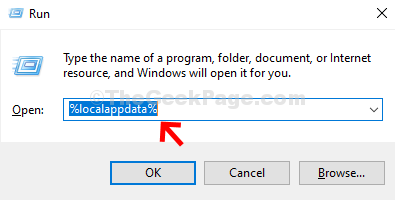
Step 2: In the Local explorer, click on Microsoft.
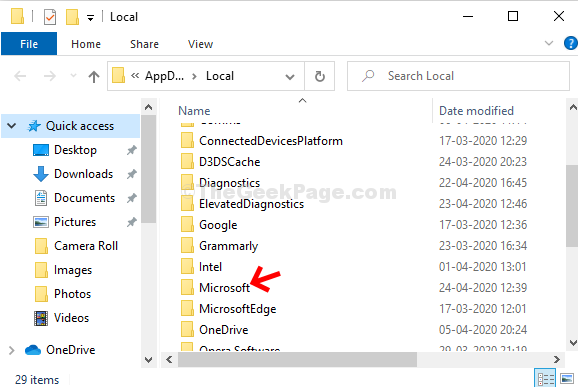
Step 3: In the Microsoft folder, click on Windows.
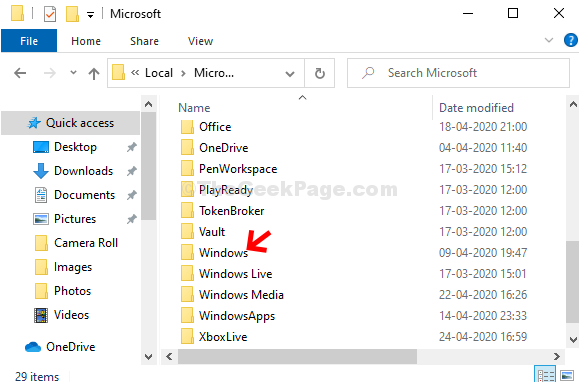
Step 4: In the Windows folder, click on Font.
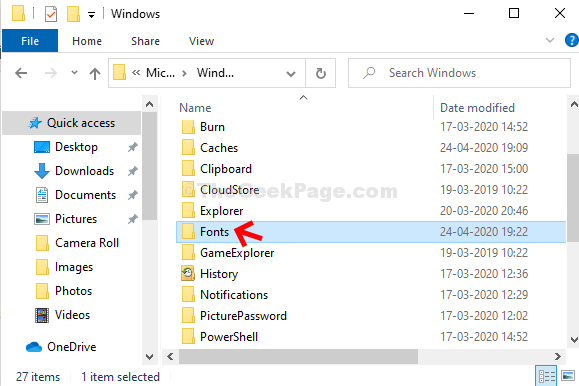
Step 5: In the Fonts folder, you will find many downloaded fonts. Select the one you want to install, right-click, and select Install for all users.
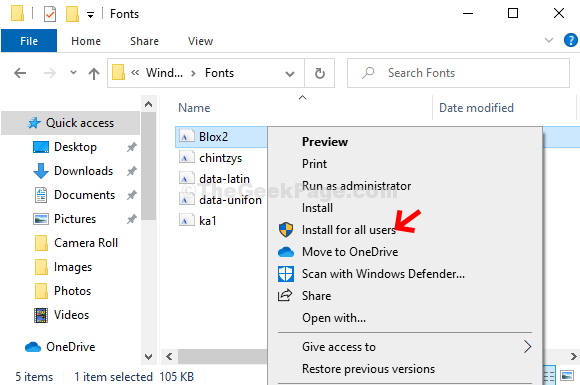
This Font will now be installed. Repeat Step 5 for all Fonts and your problem should be fixed. If not, move over to the 2nd Method.
Method 2: How to Fix “Installed Font Not Working” Issue in Windows 10 By Running Word in Safe Mode
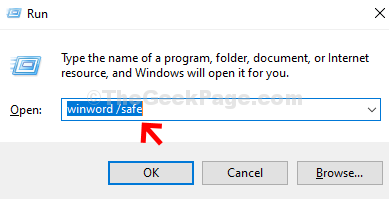
Step 1: Press the Windows key + R together to open the Run box. Type Winword /safe in the search box and hit Enter.
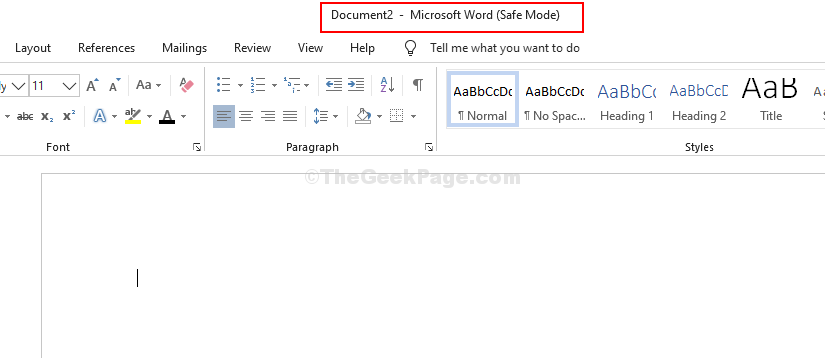
Step 2: Microsoft Word will open in the Safe Mode.

Step 3: Now, press the Ctrl key + N together on your keyboard to open a new Word document.
That’s it and now all your installed Fonts should work properly in all your apps.
No comments:
Post a Comment